

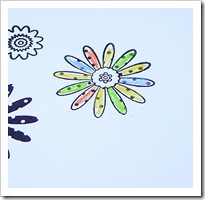
do you have lots of plain flowers ?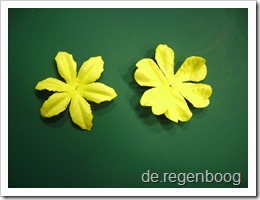
would you, like to do something fun with them?....take a look here
what you need :

black magic is a new type of paper that has a black textured surface and a colored core.
this paper is ideal for sanding, tearing, antique-ing ....
in this tutorial i'll show you a basic card made with this new paper

cut a piece of black magic paper to the size you need for your card
and run it through an embossing folder of your choice
make sure the raised effect of the embossing is on the black side !
use your distress kit or sandpaper to gently rub the top layer
of the embossing , magically the core color will appear .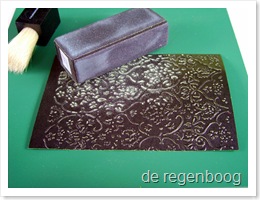
there will be a lot of fine dust so use a very soft brush to
brush it off , do this regularly to see the effect of the sanding.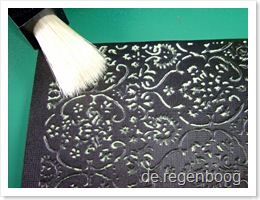
stop when you like the result , you can always sand a bit more after . 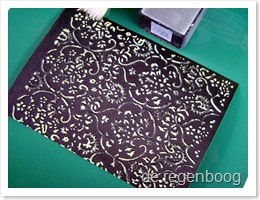
now you can do some tearing , it reveals more of the core color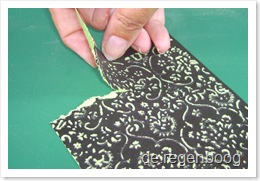
glue this to the card , yes, the back of the paper is the core color :)

then use your oval punch 
and your stamp for the sentiment 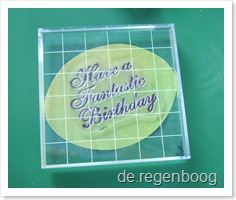
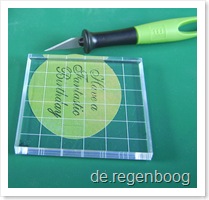
cut two slots where you can insert the ribbon
glue the ribbon and sentiments on the card 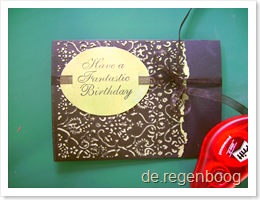
add a few flowers with little brads

here's one with blue 
what is a cuttlebug i hear you say ?
well it's a very simple tool that you can use in scrapbooking and cardmaking. you can use it for die cutting and embossing ...but let me show you with a few pictures

open you cuttlebug and use the plates a+b+b as shown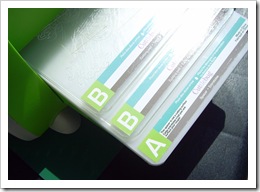
put cardstock in embossing folder 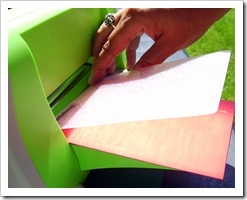
put between plates , place in cuttlebug and turn handle untill everything reappears at the other side

very simple isn't it ? it might require a gentle nudge to get the plates started ! but if you feel you really need to push hard you might be using the wrong plates, don't ! it might kill your bug !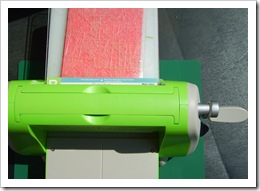
how's this for a result ? happy ....? 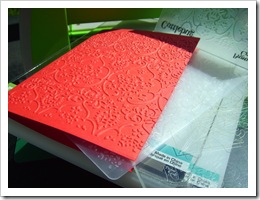
ok ! on to the next thing ...die cutting
get out you die and some cardstock
place the die with the foamside up on the two bottom plates
put your cardstock on top and add the top plate
run the stack through the cuttlebug ....ready for some fun ? you can open your stack now and see the results !!

easy isn't it ?
tip: if you are using paper or card that has two different sides think about which way to put the paper to get the required color
have you ever wondered how to color in stamps ?
there are various ways of doing it :
i am no expert at this but perhaps a few simple pictures will help you along.

Stamp your chosen image on the paper with archival ink
choose from your pastelcolors

color your stamp , you don't have to fill the spaces completely

you can choose to do each color seperately or do all at ones
dip your paper stump in the sovent , only the tip 
and use it to distribute the pastels in the spaces

continue until all spaces are done , use a different paper stump for each color

as i said i'm no expert, it's up to you now to become one :)


