black magic is a new type of paper that has a black textured surface and a colored core.
this paper is ideal for sanding, tearing, antique-ing ....
in this tutorial i'll show you a basic card made with this new paper
what you need:
- black magic paper
- cuttlebug
- ovaal punch
- ribbon
- small brads
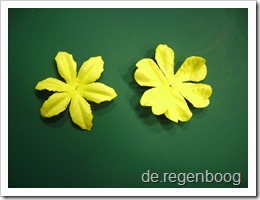
- a few matching flowers
- distressing kit or a soft brush and sandpaper
- glue and craftknife , stamp and ink
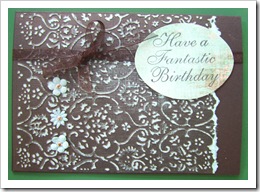
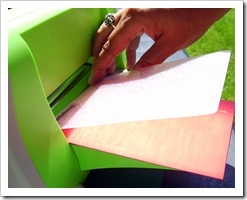
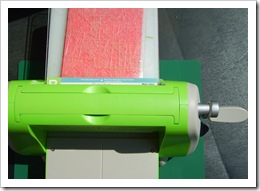
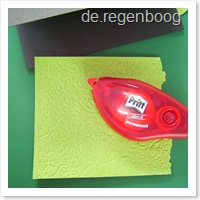
cut a piece of black magic paper to the size you need for your card
and run it through an embossing folder of your choice
make sure the raised effect of the embossing is on the black side !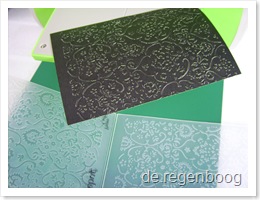
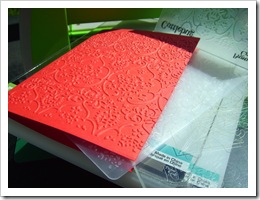
use your distress kit or sandpaper to gently rub the top layer
of the embossing , magically the core color will appear .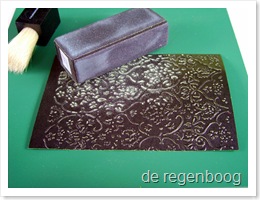
there will be a lot of fine dust so use a very soft brush to
brush it off , do this regularly to see the effect of the sanding.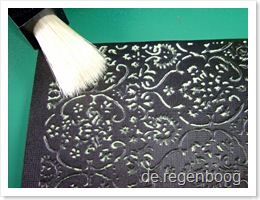
stop when you like the result , you can always sand a bit more after . 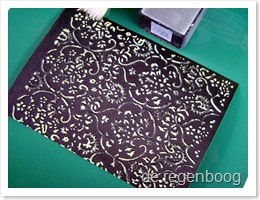
now you can do some tearing , it reveals more of the core color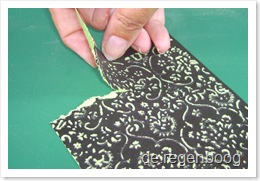
glue this to the card , yes, the back of the paper is the core color :)
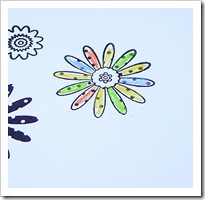
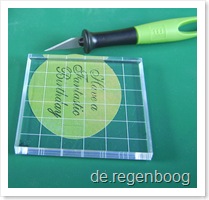
then use your oval punch 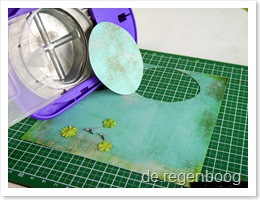
and your stamp for the sentiment 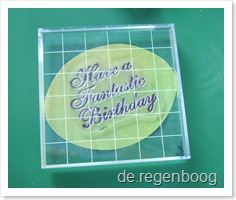
cut two slots where you can insert the ribbon
glue the ribbon and sentiments on the card 
add a few flowers with little brads

here's one with blue